In this tutorial, we will go through the steps of setting up and install Apache2 on Ubuntu. Apache is an open-source web server available for Linux servers free of charge.
What you’ll learn
- How to set up Apache
- Some basic Apache configuration
What you’ll need
- Ubuntu Desktop or Server
- Sudo-privileged user account
- Basic Linux command line knowledge
Install Apache on Ubuntu
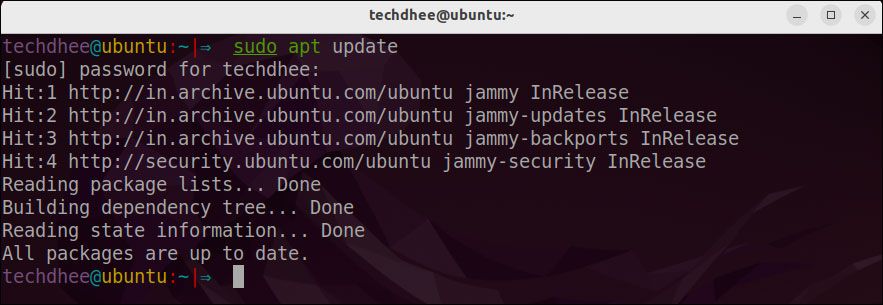
Update your Ubuntu
$ sudo apt update

Installing Apache
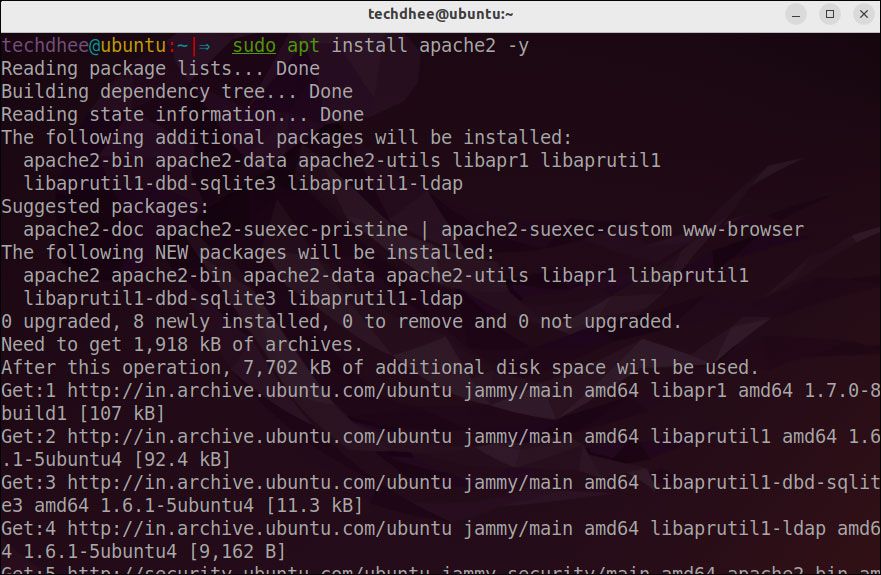
You can install apache 2 using the following command.
$ sudo apt install apache2

After installing all required packages we have to start the apache 2 services using the following command.
sudo services start apache2
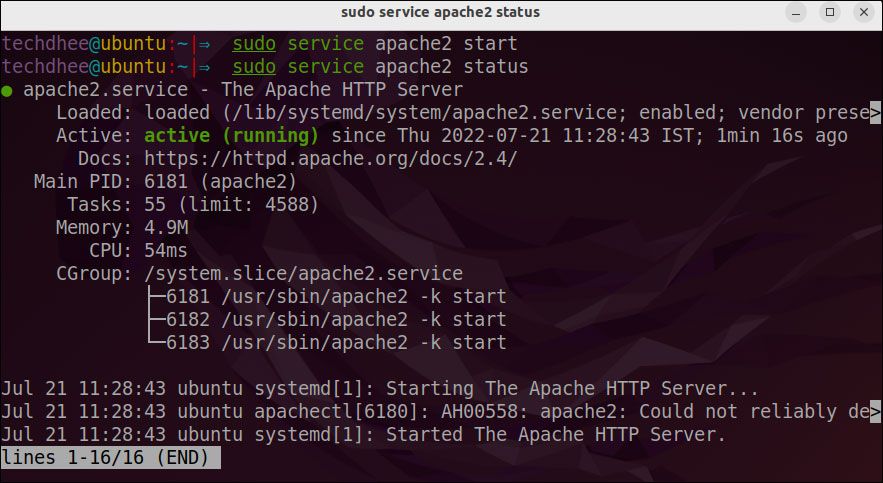
Checking your Web Server
$ sudo service status apache2

As confirmed by this output, the service has started successfully. However, the best way to test this is to request a page from Apache.
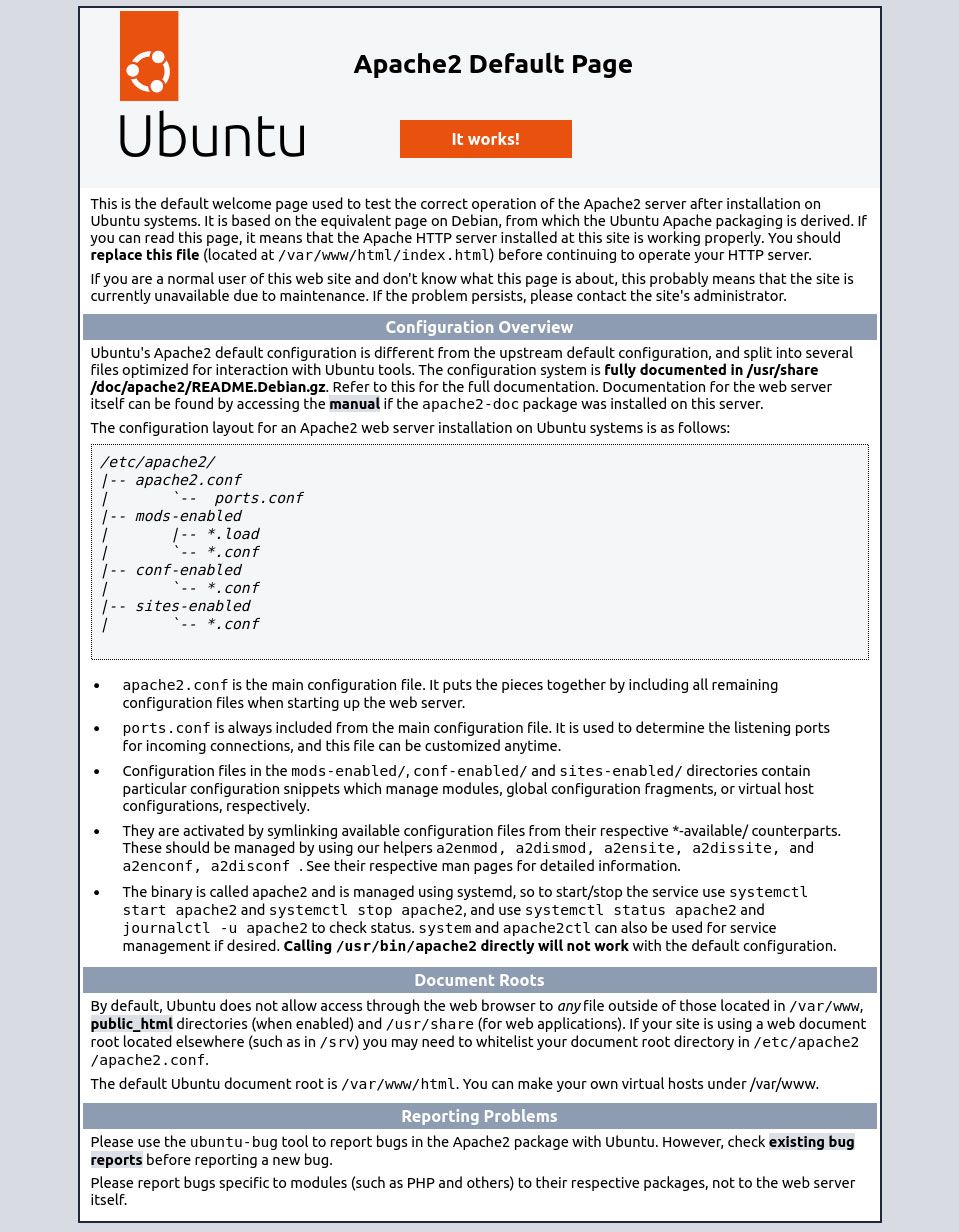
Now you can open the web browser and in the web browser, you can enter the website link or IP address. But if you are using a local machine then you can use localhost or 127.0.0.1.

If you see the page above, it means that Apache has been successfully installed on your server! Let’s move on.
Some Apache2 Commands
Now our apache2 web server is working on Ubuntu. Let’s go with some management commands of the Apache 2 web server.
To stop the web server or apache2:
sudo systemctl stop apache2
Start the web server or apache2:
$ sudo systemctl start apache2
To restart the web server:
$ sudo systemctl restart apache2
For reload the web server, apache can often reload without dropping connections. To do this, use this command:
$ sudo systemctl reload apache2
By default, Apache is configured to start automatically when the server boots. If this is not what you want, disable this behavior by using this command:
$ sudo systemctl disable apache2
To re-enable the service to start up at boot. Do this, use this command:
$ sudo systemctl enable apache2
This is the way how you install the apache2 web server on Ubuntu 22.04 and use your services using the web server.
Video
You can watch this video on how to install the apache2 web server on Ubuntu 22.04 LTS step by step without any error.
Finally
Thank you for reading this post and keep connected to TECH DHEE to continue enjoying excellent posts. Share your views about this post in the comment section below. If you still have any queries, throw them in the comment section. If you find this post helpful, don’t hesitate to share this post on your social network. It will only take a moment, and also it is quite easy and useful for others.


