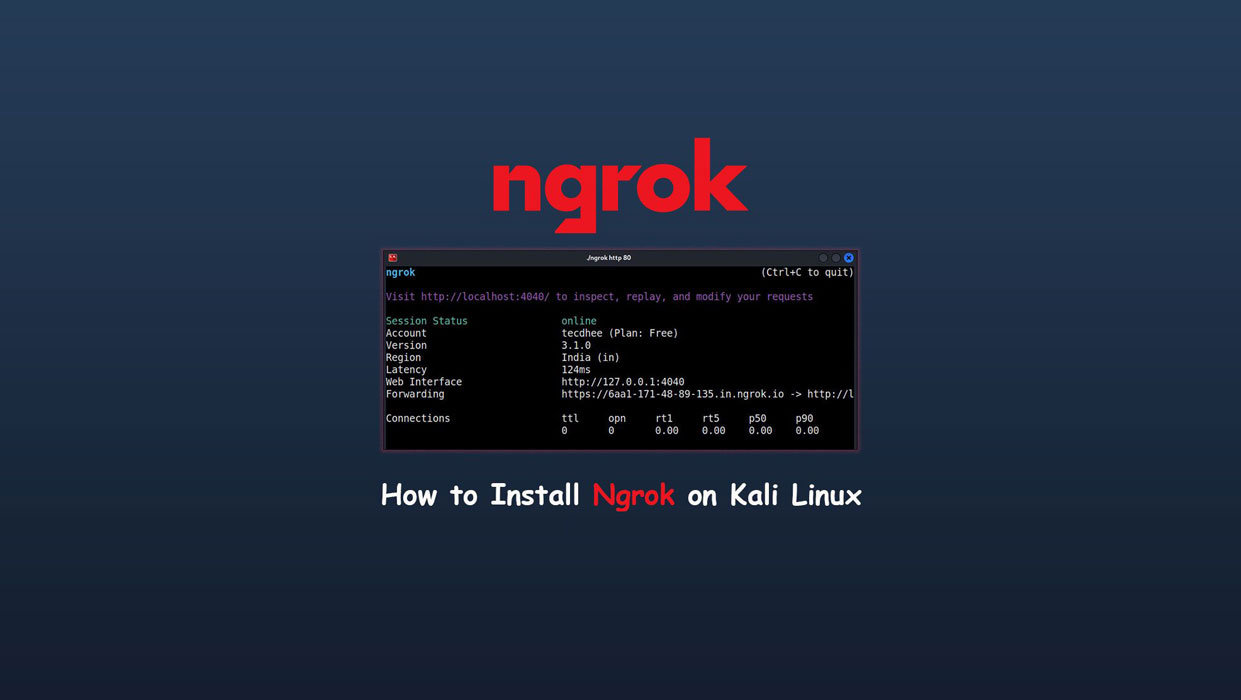
In this tutorial, we are learn about how to install ngrok on Kali Linux 2022.4. Ngrok is a globally distributed reverse proxy fronting your web services running in any cloud or private network, or your machine. It is a tunneling tool used to expose a locally running application to the internet. You can download it for free with all of the functionality.
In this tutorial, we set up and installed the ngrok. And explore our locally hosted web server running on port 8081. Here, we are going to change the default port number 80 to 8081. As our web server runs on port 8081, you should use this command: $ ./ngrok http 8081.
What you’ll learn
- How to install ngrok on Kali Linux
- How to configure ngrok
- Some basic configuration
What you’ll need
- Ubuntu Desktop
- Sudo-privileged user account
- Basic Linux command line knowledge
Install Ngrok on Kali Linux 2022.4
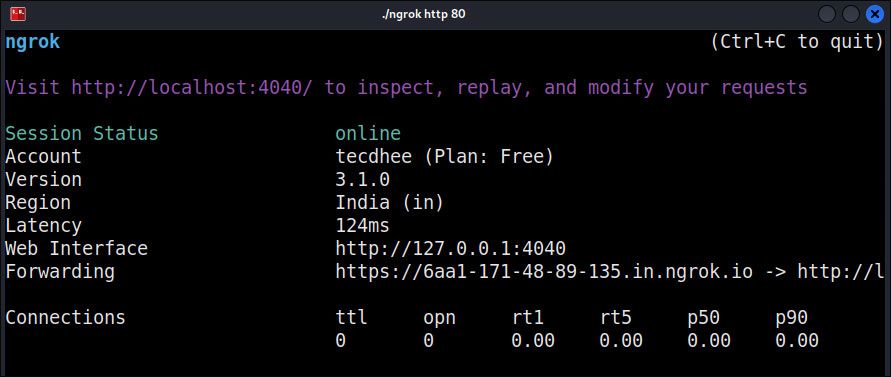
When you run this command, you should see an output similar to the following:
ngrok (Ctrl+C to quit) Visit http://localhost:4040/ to inspect, replay, and modify your requests Session Status online Account tecdhee (Plan: Free) Version 3.0.6 Region India (in) Latency 114ms Web Interface http://127.0.0.1:4040 Forwarding https://a07a-223-187-110-110.in.ngrok.io -> http://localhost:8081 Connections ttl opn rt1 rt5 p50 p90 1 0 0.01 0.00 5.32 5.32
So here my local web server is already running on my local machine. Only we have to deploy the ngrok.
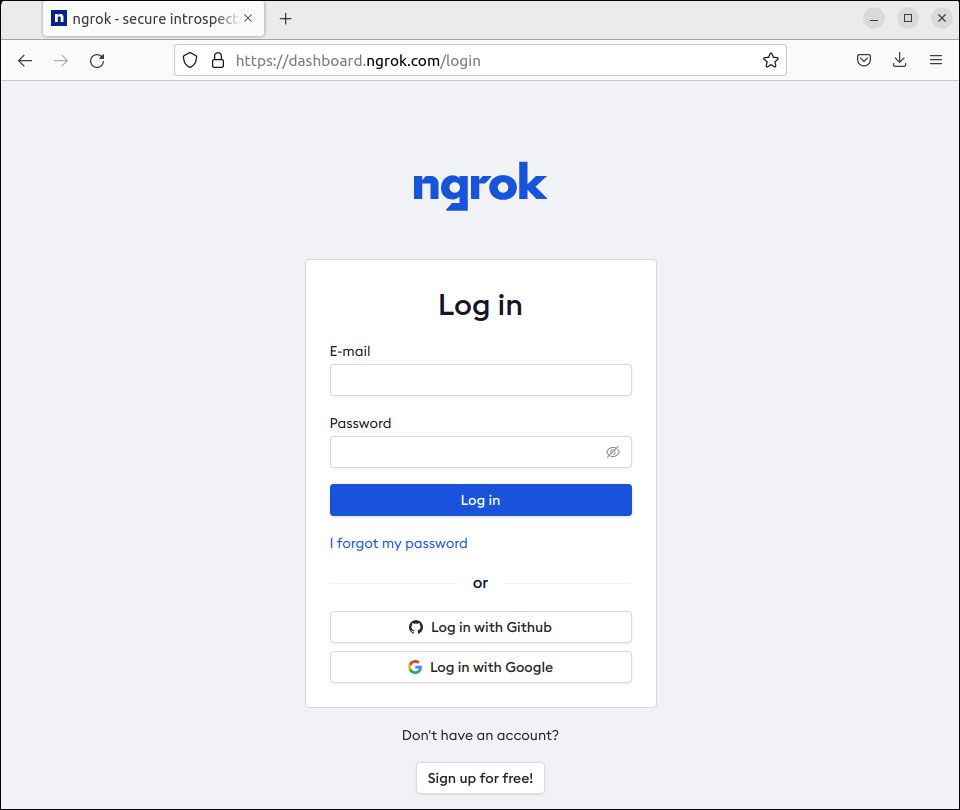
Create a Ngrok account
So, first of all, we must create a ngrok account to use the services. Go to the official website and create an account. If you have already an account just login it.
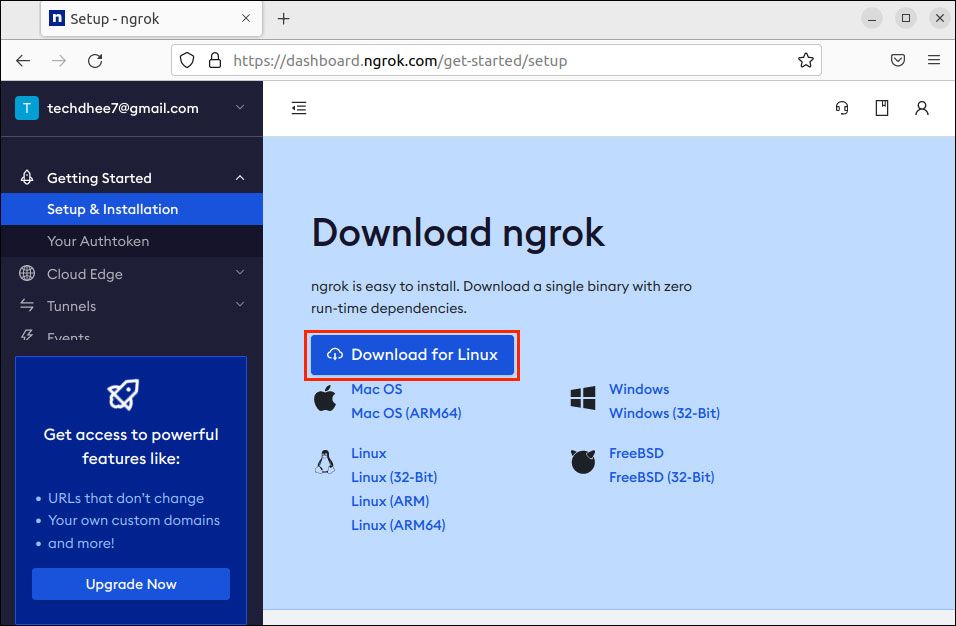
Download ngrok
Here you have to download the ngrok first. It is available for macOS, Windows, Linux, and FreeBSD. You can download directly r you can use wget command also.
Extract the ngrok file
After downloading the ngrok binary you have to extract the .tgz file.
So go to the Download directory and run the following commands in the terminal.
$ cd Downloads$ tar -xvf ngrok.x.x.x.tgz

Configure the ngrok
You will find the all details in the dashboard. You have to copy your auth token from the dashboard. And run the following command in the terminal. Only your auth token will be changed.
$ ./ngrok config add-authtoken [auth token]

Run your ngrok
Now run the ngrok using the following command.
./ngrok http 8081
Now you can open the ngrok link anywhere in the world. And you can use your local web server.
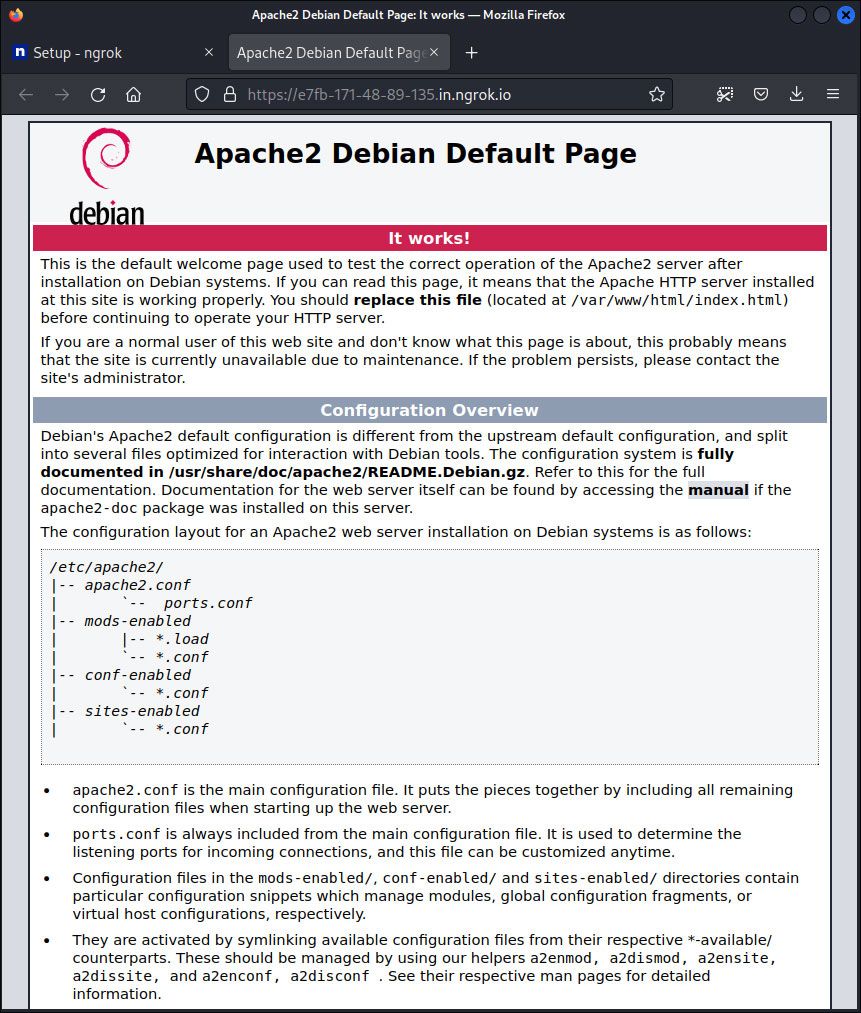
This is the way how you can download and run the Ngrok on Kali Linux 2022.4 and use your local web server anywhere in the world.
Video
You can watch this video on how to install Ngrok on Kali Linux 2022.4 step by step without any errors.
Finally
Thank you for reading this post and keep connected to TECH DHEE to continue enjoying excellent posts. Share your views about this post in the comment section below. If you still have any queries, throw them in the comment section. If you find this post helpful, don’t hesitate to share this post on your social network. It will only take a moment, and also it is quite easy and useful for others.